Can you believe we’re already in Week 7 of the 10-Week Digital Photo Organizing Challenge? Get ready to break out your jazz hands friend, because this is the week week when MAGIC happens as we rename digital photo files!
If you’re just discovering the Challenge, here’s a review of what we’ve accomplished so far in this digital photo organizing journey:
- Week 1 – Establish Your Hub
- Week 2 – Inventory Your Collection
- Week 3 – Create a Backup System
- Week 4 – Create Your Core File Structure
- Week 5 – Sort Images
- Week 6 – Delete Duplicates
During my days as a photo organizer, it was at this stage in the organizing process that I LOVED to demonstrate the power of using a descriptive name for image files to my clients. When that lightbulb moment happened — when clients understood how much easier it would be to actually find the photos they were looking for — it was life-changing for many of them. Truly.
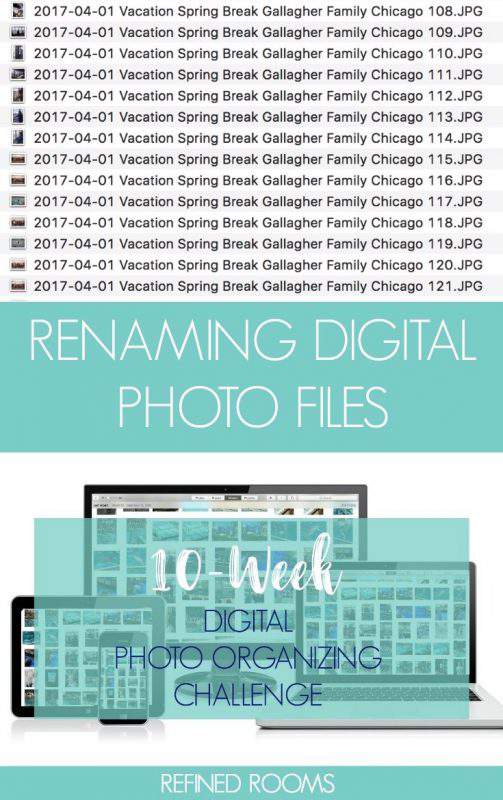
Many people aren’t aware that their computer possesses super powers. Those super powers are basic search capabilities built into the operating system that you can use to quickly search for and retrieve any photo in your digital photo collection. The search function will not work, however, when your image file names look like this:

Look familiar? When an image is captured by a digital camera, the camera automatically assigns a generic file name such as the one above. This week, we’re going to rename your image files so that they look more like this:
Some of you might be wondering why you need to bother with this step, since you plan to use tags, keywords, and/or albums within a particular photo organizing software program to organize your images. Remember back in week 4 when we talked about the importance of creating a digital photo organizing system that is universally “portable” (i.e., the core file structure system)?
Repeat this photo organizing mantra after me:
I never want to be held hostage by a particular photo organizing software program.
This can happen when you’ve created an organizational infrastructure within a program that doesn’t “play nice” (i.e., your organizational structure only works within the confines of that particular program). If this software company goes out of business in the future, or you find something better that you’d like to migrate your collection to, you are basically up a creek and will have to begin all over at square one.
I’ve seen it happen to others. Don’t let it happen to you!
CREATING A DIGITAL PHOTO NAMING CONVENTION
There are a variety of opinions regarding how you should best name your digital photos, but the key is really to be consistent once you decide on your naming convention. I’ll walk you through the elements of my naming convention and you can modify it to make it work for you:
DATE CREATED
I begin my file name with the 4-digit year, followed by a 2-digit month and 2-digit day, using a dash (-) between each number. By starting your file name with YYYY-MM-DD, your files will always sort in date order.
THEME
Follow the date with a theme that tells you the general category of event captured within the image. Common themes in my collection include: Vacation, Birthday, Holiday, and Swim Meet (yours are likely different!).
PEOPLE
I like to include the names of key people captured in each image in my file names. Everyday photos of my individual children will include the child’s name in the image name. When I have a series of family vacation or holiday photos, I prefer to use our family name in the image.
LOCATION
I also like to include a descriptor of where the image was taken as part of my naming convention. This could take the form of a city name, person’s home, or vacation attraction (e.g., Cedar Point). I choose the location based on how I’m likely to search for the image in the future.
UNIQUE NUMERIC IDENTIFIER
As you can see in the image below, I batch rename a series of images of the same event with the exact same file name and append a unique numerical identifier at the end of the file name (I’ll begin with either 101 or 1001, depending on how many images I have in that particular event).
Before I complete the batch renaming for an event, the first step in the process is to sort the images contained within a monthly folder (in the core file structure) in ascending order by date/time created. After completing this crucial first step, I then perform the batch rename, including the unique numerical identifier at the end of the file name.
By following this process, I create a unique file name for each image in my collection. Also, the images within a particular event remain in the order in which they were taken during the event.
Once you’ve completed the batch renaming process using your descriptive naming convention in a consistent way, I bet you’ll be able to search for ANY image and retrieve it in a matter of a few seconds. See…what did I tell you? It’s MAGIC!
Your Assignment for Week 7 – RENAME DIGITAL PHOTO FILES:
- Use the guidelines outlined above to decide on your digital photo naming convention
- Within each monthly folder, sort your images by date created in ascending order
- Rename your digital image files (using a batch process for your particular computer operating system) to reflect your new digital photo naming convention)
- Repeat the process for all monthly folder contained within each yearly folder within your core file structure
- Use the SEARCH function on your computer to locate specific images and time how long it takes you. Share this time with me in the comments section of this post!
Be sure to return later in the week to let me know about your progress via the comments section or Instagram (use hashtag #DPOChallenge).
I’ve created a free companion resource for Challenge participants, the Digital Photo Organizing Tool Kit.
Just enter your information in the form below, and the Tool Kit will be sent straight to your inbox!
This post is part of the 10-Week Digital Photo Organizing Challenge
Just discovered the Challenge? I invite you to read the Challenge Overview post first. You can then begin to work your way through the weekly Challenge assignments:
- Week 1: Establish your digital photo hub
- Week 2: Inventory your digital photo collection
- Week 3: Create a digital photo backup system
- Week 4: Create a core file structure for your digital photos
- Week 5: Sort digital photos
- Week 6: Delete digital photo duplicates
- Week 8: Tag & rate your digital photos
- Week 9: Create a digital photo organizing maintenance plan
- Week 10: Celebrate & share your photos
Let’s get those photos organized!
Photo © Deposit Photos@ Shtanzman
- Printables for Organizing Home & Life: The ULTIMATE Organizing Printables Vault! - November 28, 2023
- Clipboard Wall Organization for Papers: Easy DIY Paper Storage! - September 4, 2023
- How to Plan a Graduation Party to Remember: The Ultimate Graduation Party Planner - May 9, 2023
Leah says
How do you add in a person’s name? So for example if you did the vacation pictures do you add “John” at the end of it if it’s a particularly good picture of someone? I like the idea of being able to quickly find pictures of a person when doing Birthday or retirement videos.
Natalie Gallagher says
Great question Leah. You can identify people in images in two different ways:
1) include the name of the person at the end of the file name
2) Use tags in your photo organizing software to tag all photos with those individuals
Either method works. I choose #2 in order to avoid having super long file names. Check out this post to learn more about using tags.
Andi Willis says
I actually keep a post-it note on my computer monitor to remind me of my standard file name structure for photos. Even though this is what I “do”, sometimes I forget so having a cheat sheet really helps. Also, I completely agree with not being held hostage by specific photo organizing software for naming your pictures. The native file structure on PC and Mac is generally sufficient. Thanks for the great info!
Natalie Gallagher says
I love the “cheat sheet” idea Andi! Thanks for sharing